
Pre-rendering your React application is useful if you want to increase SEO performance of your website and make it visible to search engines. Most of the search engine robots does not execute client side javascript code and that makes websites which are made by React is not visible on search engine results.
Even if Google says it’s executing client side Javascript code, it’s better to be visible by other search engines too. One solution to this problem is pre-rendering your pages on the server-side and return this html files to the client or search engine robots.
On this tutorial I will mention pre-rendering your application using react-snap. If you want to try different projects you can also try similar alternatives like react-snapshot, prep or prerender-spa-plugin. So, let’s get started.
First of all we will create a new react application using create-react-app. If you don’t know how to do that, you can read this tutorial first.
I’m creating the app with the command below:
create-react-app pre-rendered-app
Then go to the app folder and run ‘npm start’ to see if everything is working, you should be able to see the main page of sample react application.
Now we will install react-snap as a development dependency.
npm install --only=dev react-snap
Then add below lines under scripts field of your package.json file.
"postbuild": "react-snap"
Your package.json should have a scripts part like below:
"scripts": {
  "start": "react-scripts start",
  "build": "react-scripts build",
  "test": "react-scripts test --env=jsdom",
  "eject": "react-scripts eject",
  "postbuild": "react-snap"
}
Now change src/index.js:
import React from 'react';
import './index.css';
import App from './App';
import { hydrate, render } from 'react-dom';
import registerServiceWorker from './registerServiceWorker';

const rootElement = document.getElementById('root');
if (rootElement.hasChildNodes()) {
  hydrate(<App />, rootElement);
} else {
  render(<App />, rootElement);
}
registerServiceWorker();
All configurations are done! Let’s build and see what happens.
npm install
npm run build
After build, you will see that react-snap is executed and printed some logs similar to the below.

After build, you can serve your application using serve command. If it’s not installed, you can install it by the command ‘npm install -g serve’.
serve -s build
Now your application will be served on 5000 port, you can access it on http://localhost:5000.
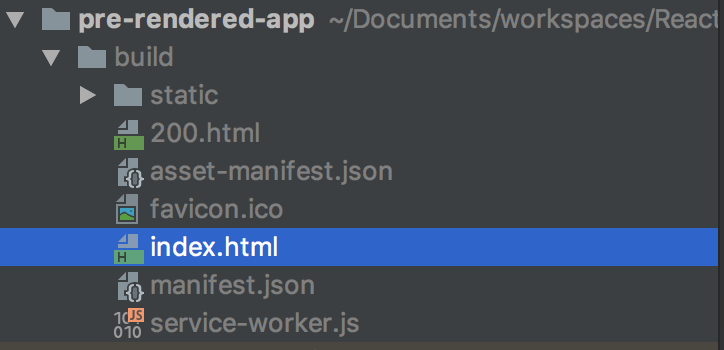
You can see the pre-rendered index.html file under build folder, also your original index.html file is renamed to 200.html.
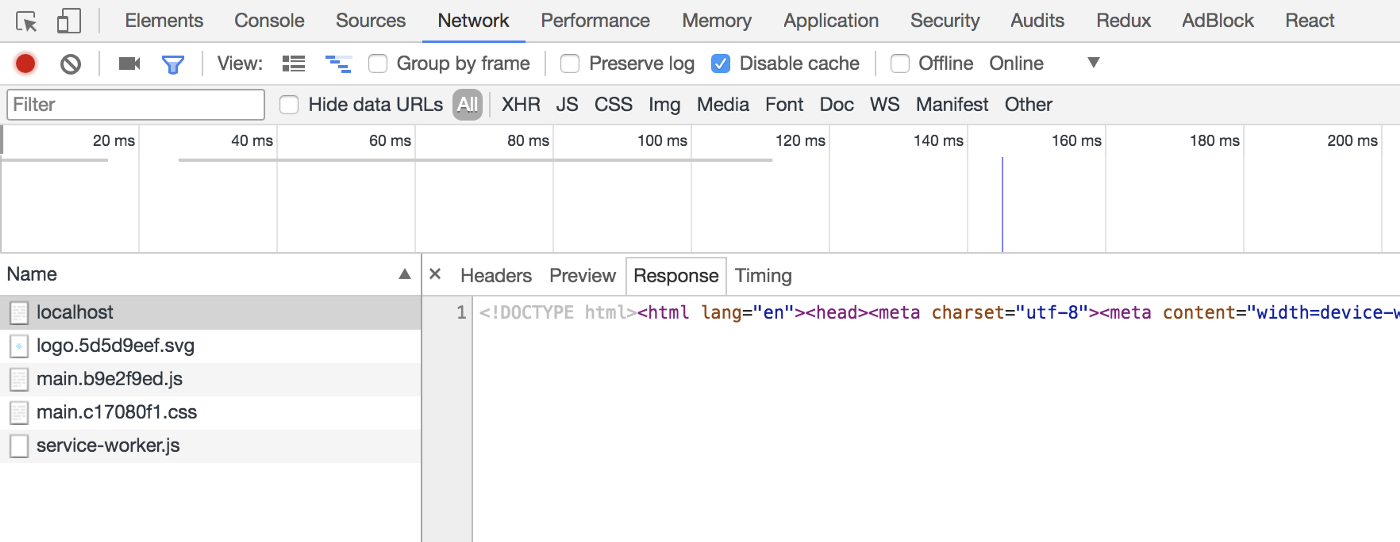
Also you can open Chrome Developer Tool on localhost:5000 page and go to Network tab and select ‘All’ filter. Then refresh your page and you will see the rendered html file on response of localhost request.
You can access complete code from this github repo.